
SureFire suppressors are designed, engineered and manufactured in the U.S.A., and they’re built to provide years of faithful service. It’s a proven fact that SureFire’s SOCOM Fast-Attach® suppressors will outlast the barrels on which they’re mounted, and every SOCOM and SF RYDER suppressor is capable of withstanding tens of thousands of rounds, making them ideal for everyone from range day shooters to elite combat force teams.
But while there’s very little that can go wrong with a SureFire, carbon buildup is the enemy of any suppressor. SureFire suppressors are designed to function in the harshest conditions with minimal maintenance, but there are a few things you can do to ensure consistent performance from your SF RYDER or SOCOM suppressor.
SF RYDER Suppressor Cleaning and Maintenance
SureFire SF RYDER suppressors such as the SF RYDER 22-S and SF-RYDER 9 models feature a modular design that allows for easy disassembly, cleaning and reassembly, and every SF RYDER comes with a tool that facilitates the process of disassembly and reassembly.
Piston Disassembly/Assembly
To remove your SF RYDER suppressor, unscrew the suppressor and remove it from the barrel. To disassemble the back end, unscrew rear cap with the back end of the Disassembly/Assembly Tool by turning the cap counterclockwise and remove. Pull the piston spring and piston out and separate them.
To reinstall the piston assembly, place the piston into the suppressor back section and place the spring or fixed barrel spacer (with the spring facing to the rear) over the piston shaft. Place the rear cap over the exposed piston shaft and push it until it is flush with the suppressor tube, then hand-tighten the rear cap by turning it clockwise. One important note: The Disassembly/Assembly tool should not be used in this step.
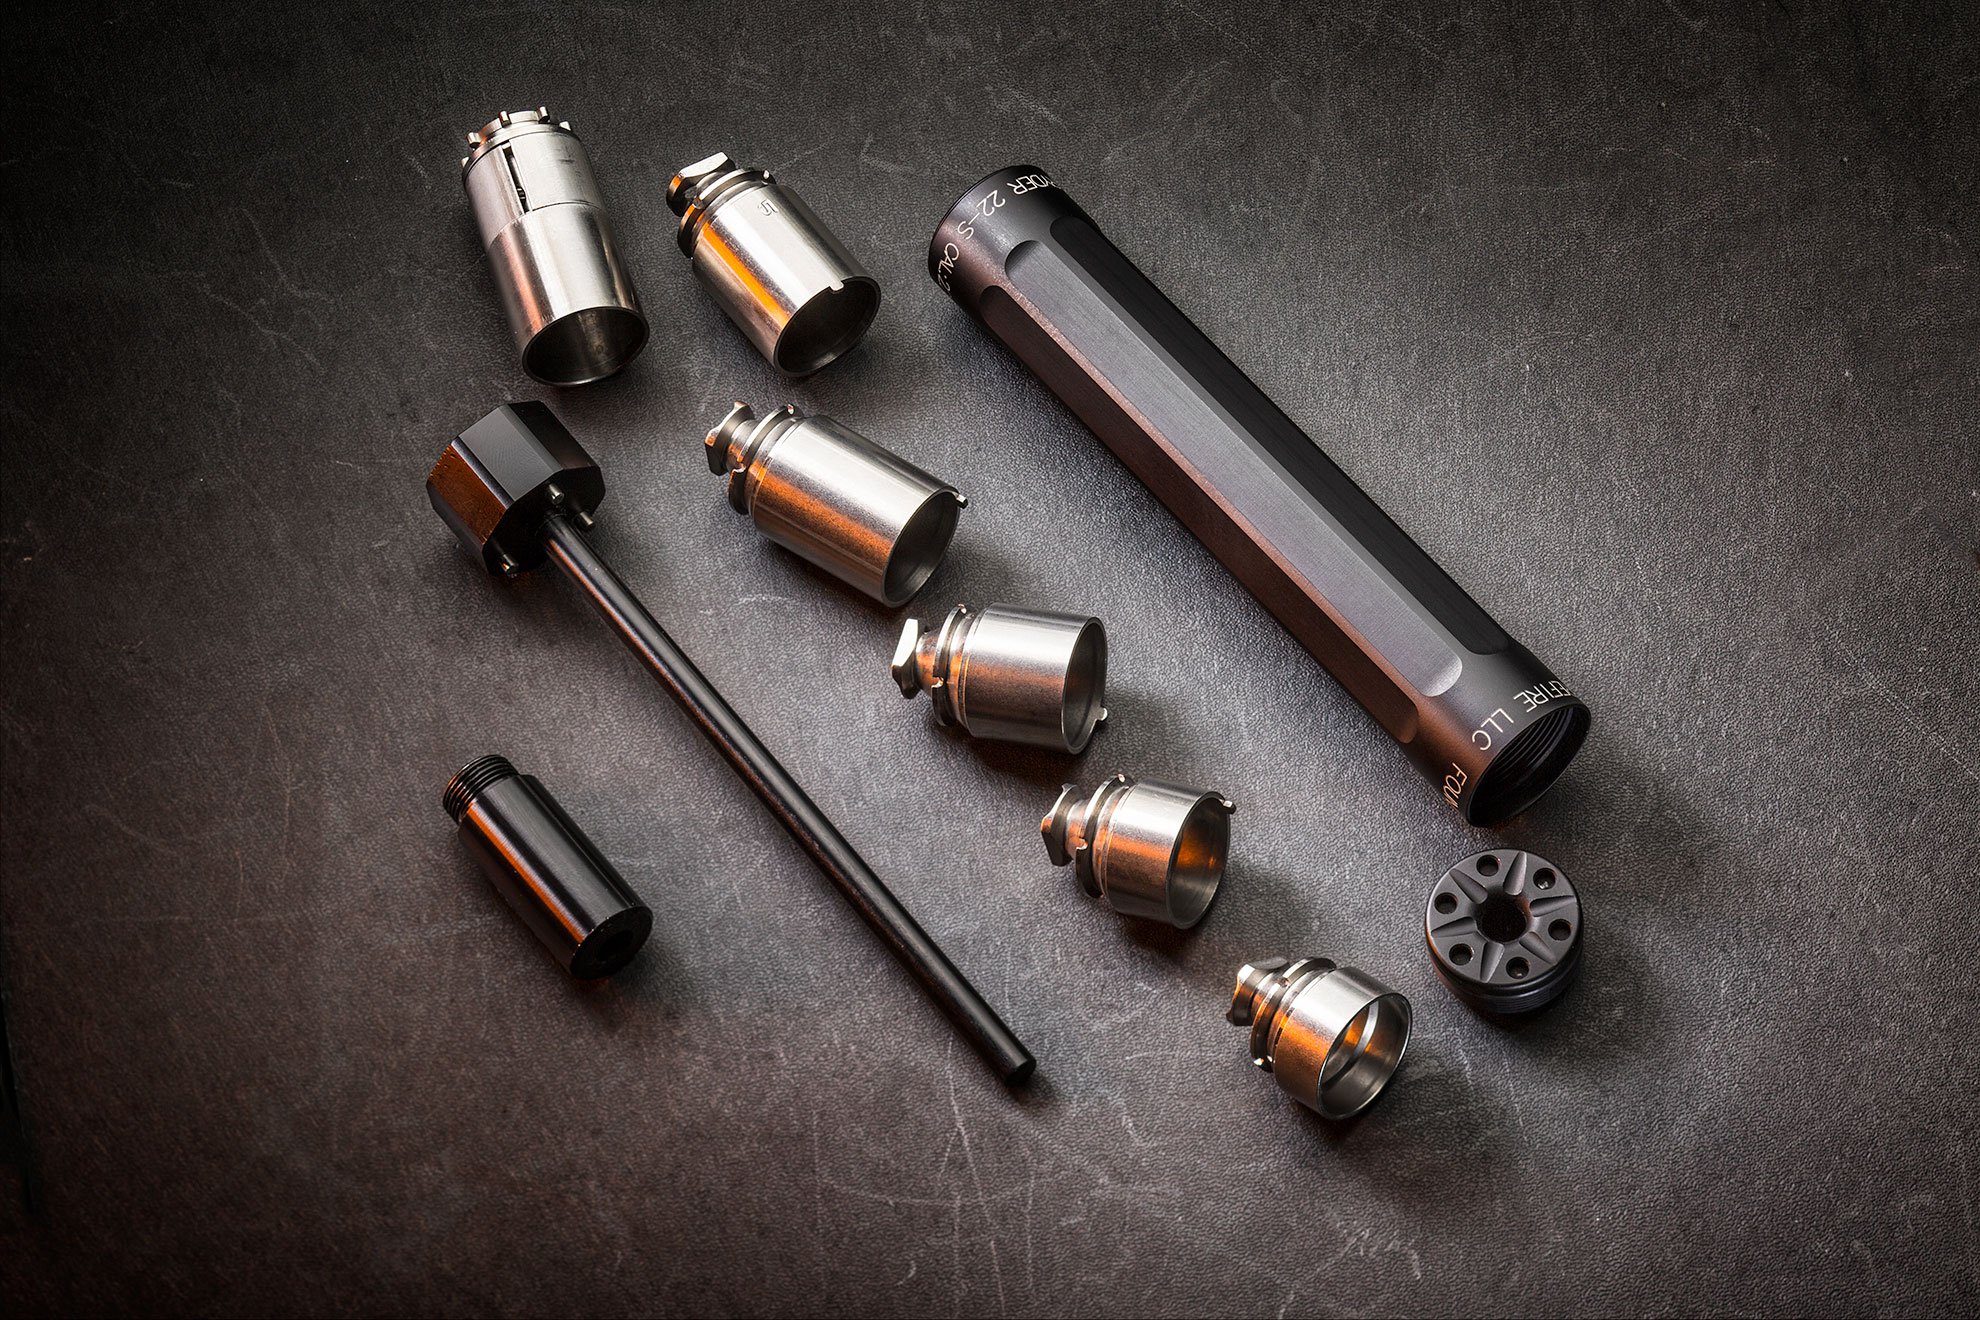
Baffle Disassembly
Insert the Disassembly/Assembly Tool Central Rod into the bore of the suppressor front plate, then align the Disassembly/Assembly Tool pins with the blank holes in the suppressor front plate and push the tool so that it is snug against the front plate. Next, rotate the Disassembly/Assembly Tool counterclockwise while holding or rotating the suppressor clockwise until the front plate is unscrewed.
Now it’s time to push the front plate and baffle stack through the front of the suppressor tube with the Baffle Removal Tool. The Baffle Removal Tool is designed to interface with the shear cut of the baffle. It is possible that the baffle stack may become difficult to push through the suppressor tube if you your SF RYDER has been subjected to high round counts. If this happens you can simply place the Baffle Removal Tool on the Disassembly/Assemble Tool central rod and rotate until it mates with the shear cut on the baffle, then use the tool for leverage to push the baffle stack through. Once the baffle stack has cleared the suppressor tube, you can remove the Baffle Removal Tool.
A clean suppressor is a happy suppressor. SureFire recommends that SF RYDER suppressors be cleaned and lubricated at least every 300 rounds, and the baffles every 1,000 rounds. Proper cleaning is accomplished with most popular non-flammable cleaning solvents. Simply apply solvent and wipe the baffles dry with a clean, dry cloth or cleaning patches .
When everything is cleaned and the piston and shaft lubed with gun oil, start the reassembly procedure by sliding the front plate onto the Disassembly/Assembly Tool central rod and aligning the tool pins with the blank holes in the front plate. Slide baffle #1 onto the Disassembly/Assembly Tool Central Rod. Slide baffle #2 onto the central rod and align the index tab so baffle #2 can be pushed flush with baffle #1. Repeat the process with baffles #3 through #6 — in that order — ensuring that all of the baffles are flush and their numbers are aligned.
Next, place the spacer on the baffle stack, and then slide the suppressor tube over the entire stack. Rotate the Disassembly/Assembly Tool clockwise while holding the suppressor tube or rotate the suppressor tube counterclockwise until hand tight. Slide the Disassembly/Assembly Tool out from the suppressor, and your SF RYDER suppressor is ready for use.
SOCOM FAST-ATTACH Suppressor Cleaning and Maintenance
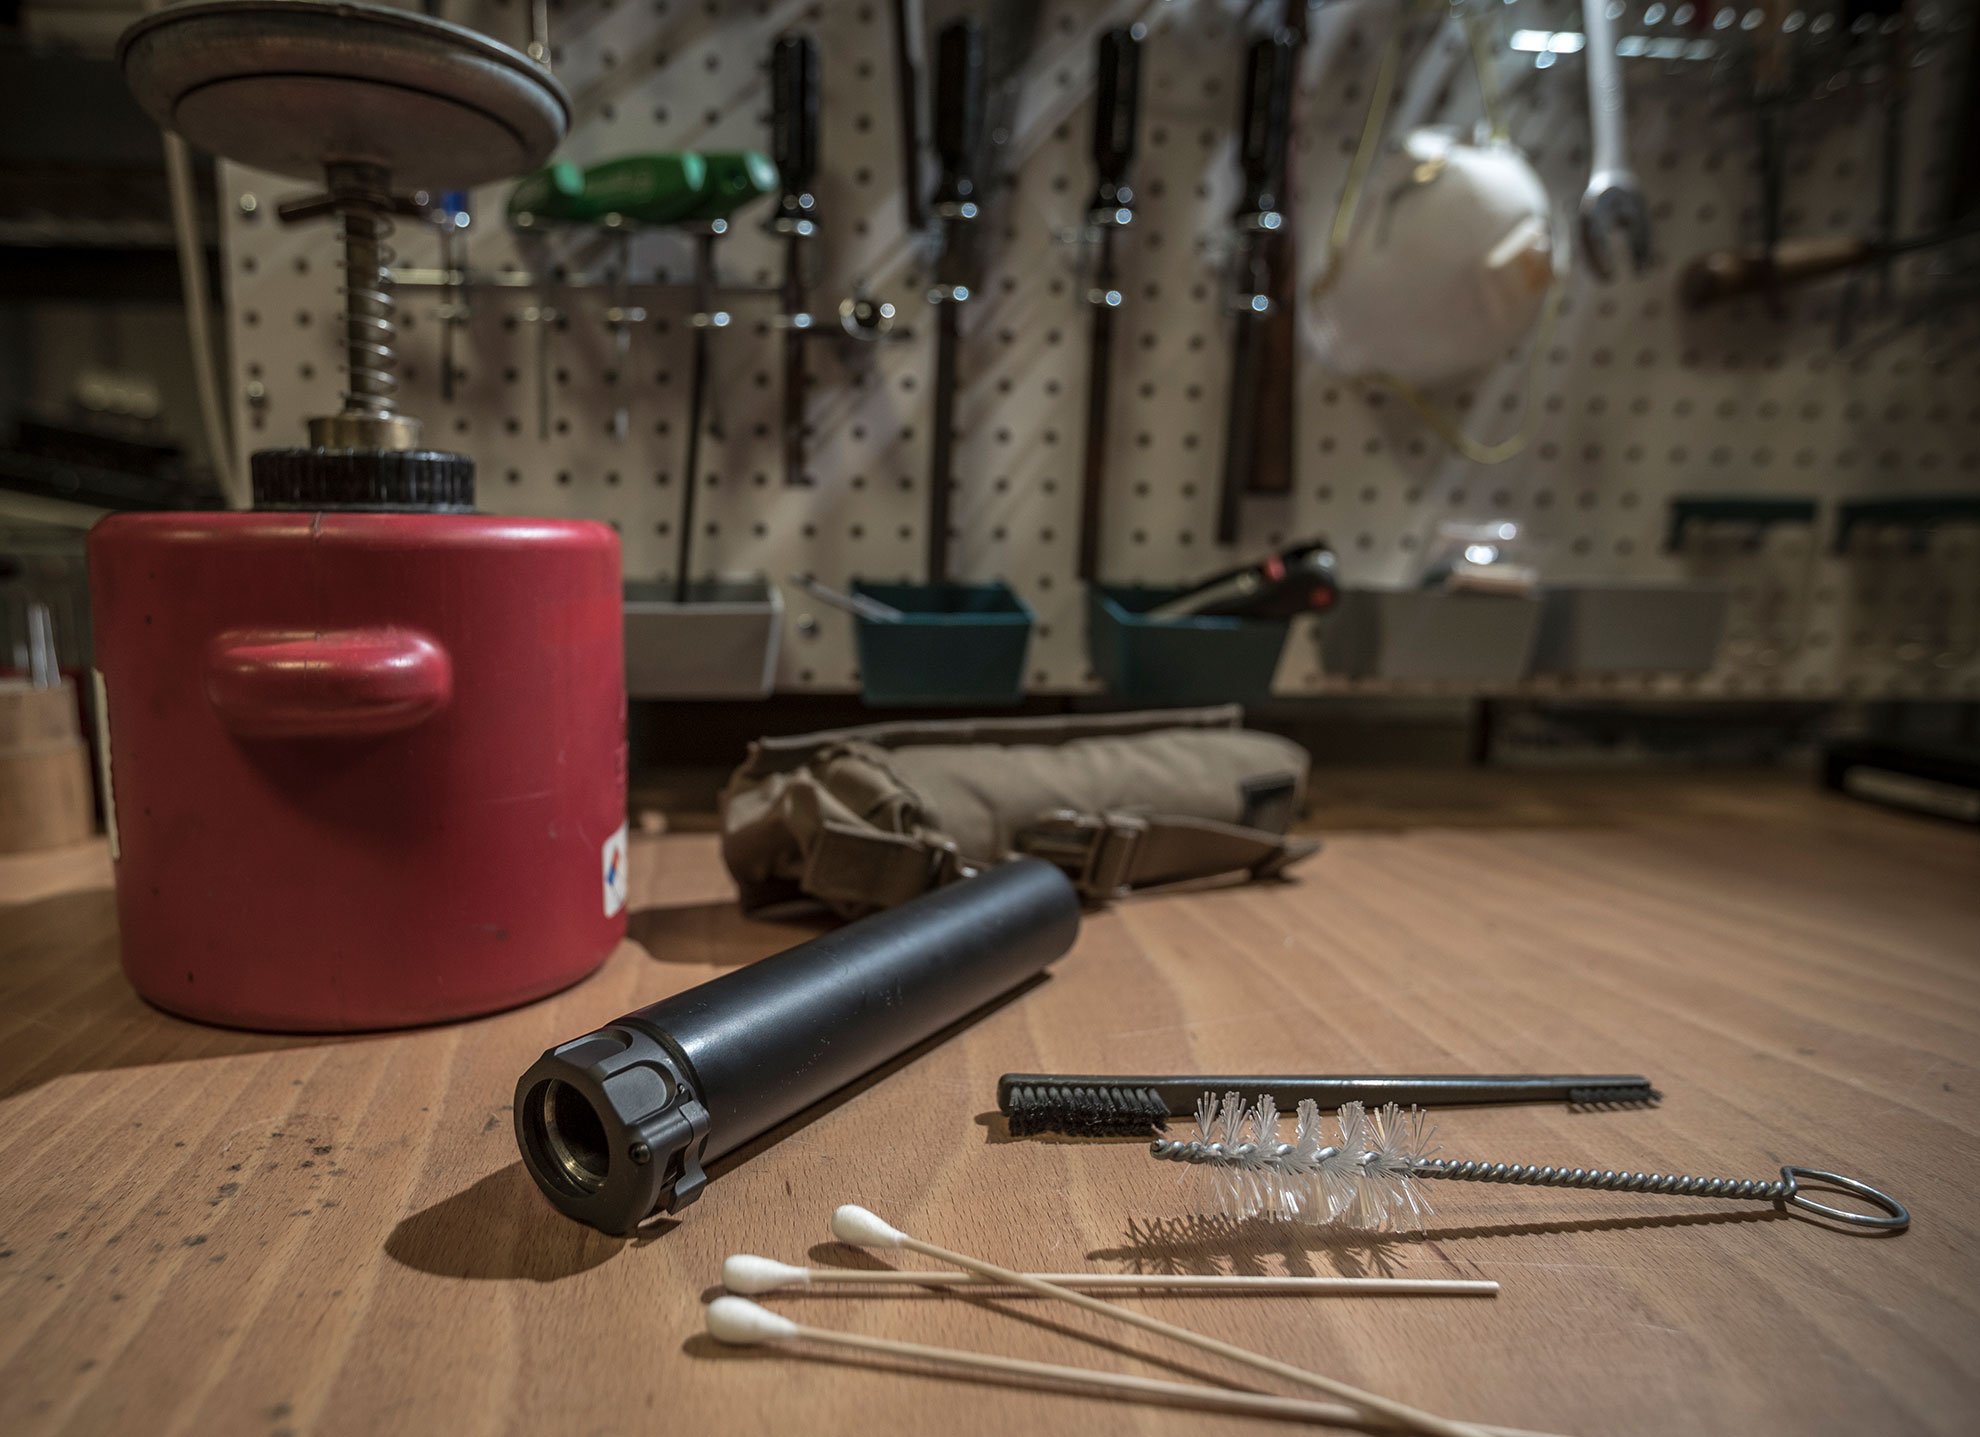
Since SureFire SOCOM suppressors are designed to excel in the most brutal combat conditions, they can take a tremendous amount of abuse with minimal attention. However, the majority of SOCOM SureFire suppressor cleaning and maintenance has little to do with the suppressor itself, but rather ensuring a clean bearing surface on the adapter so that the suppressor is able to be attached/detached quickly. Excessive carbon buildup can foul this service and may result in a suppressor that becomes stuck to the adapter. Preventive maintenance is the best practice. Every SOCOM suppressor comes with a cleaning brush that can be used to loosen carbon deposits.
Mounting and dismounting the suppressor from the weapon several times will help to dislodge carbon and metal-fouling buildup. SureFire also sells the accessory SF-ACST Adapter Carbon-Scraping Tool that easily removes carbon fouling from SureFire suppressor adapters. You can also use the brush remove carbon and copper residue from the suppressor mounting surfaces and adapter. It is important to take care to orient the parts so that loosed carbon does not fall into the weapon bore or into the suppressor body. Most common gun cleaners may be used to remove carbon/copper fouling from both the adapter and the corresponding internal mounting surfaces of the suppressor as well.

Lastly, there is an optional procedure that can be performed on SOCOM suppressors. Extremely high round counts will cause carbon buildup between the baffles and the suppressor tube over time. While this carbon won’t affect the accuracy of the suppressor, it can have a negative affect on flash and sound performance, and the weight of the excess carbon inside the suppressor may become noticeable. The following armorer-level deep cleaning procedure provides a way to flush out the suppressor:
1. Place the suppressor muzzle down in a container that will hold liquid.
2. Fill the container with CLR® cleaner while making sure to stop just before the suppressor locking ring comes into contact with the cleaner. Be sure the locking ring is not submerged in the CLR cleaner to avoid discoloration of the coating on the lock ring.
3. Let the suppressor soak in CLR cleaner undisturbed for 24 hours.
4. Remove the suppressor from the CLR cleaner and rinse.
5. Brush the attachment areas of the suppressor with the supplied cleaning brush to remove any carbon buildup, then rinse the suppressor in clean water after brushing.
6. Attach the suppressor to the weapon and fire 5-10 rounds of live ammunition through the suppressor to expel loosened carbon in the sealed section of the suppressor. Note that this is the messy part and will probably require some additional cleaning of the suppressor and the rifle.
7. Clean off all excess splatter from the suppressor and rifle, and you’re good to go.
While the aforementioned SureFire suppressor cleaning and maintenance tips will help your SureFire suppressor perform like new, every SureFire suppressor model is guaranteed to provide faithful service for life. That’s what makes it a SureFire in the first place. For more information on Surefire’s lineup of world-class suppressors, visit SureFire.com.
SMM3G 2023 draws more than 340 competitors")

