
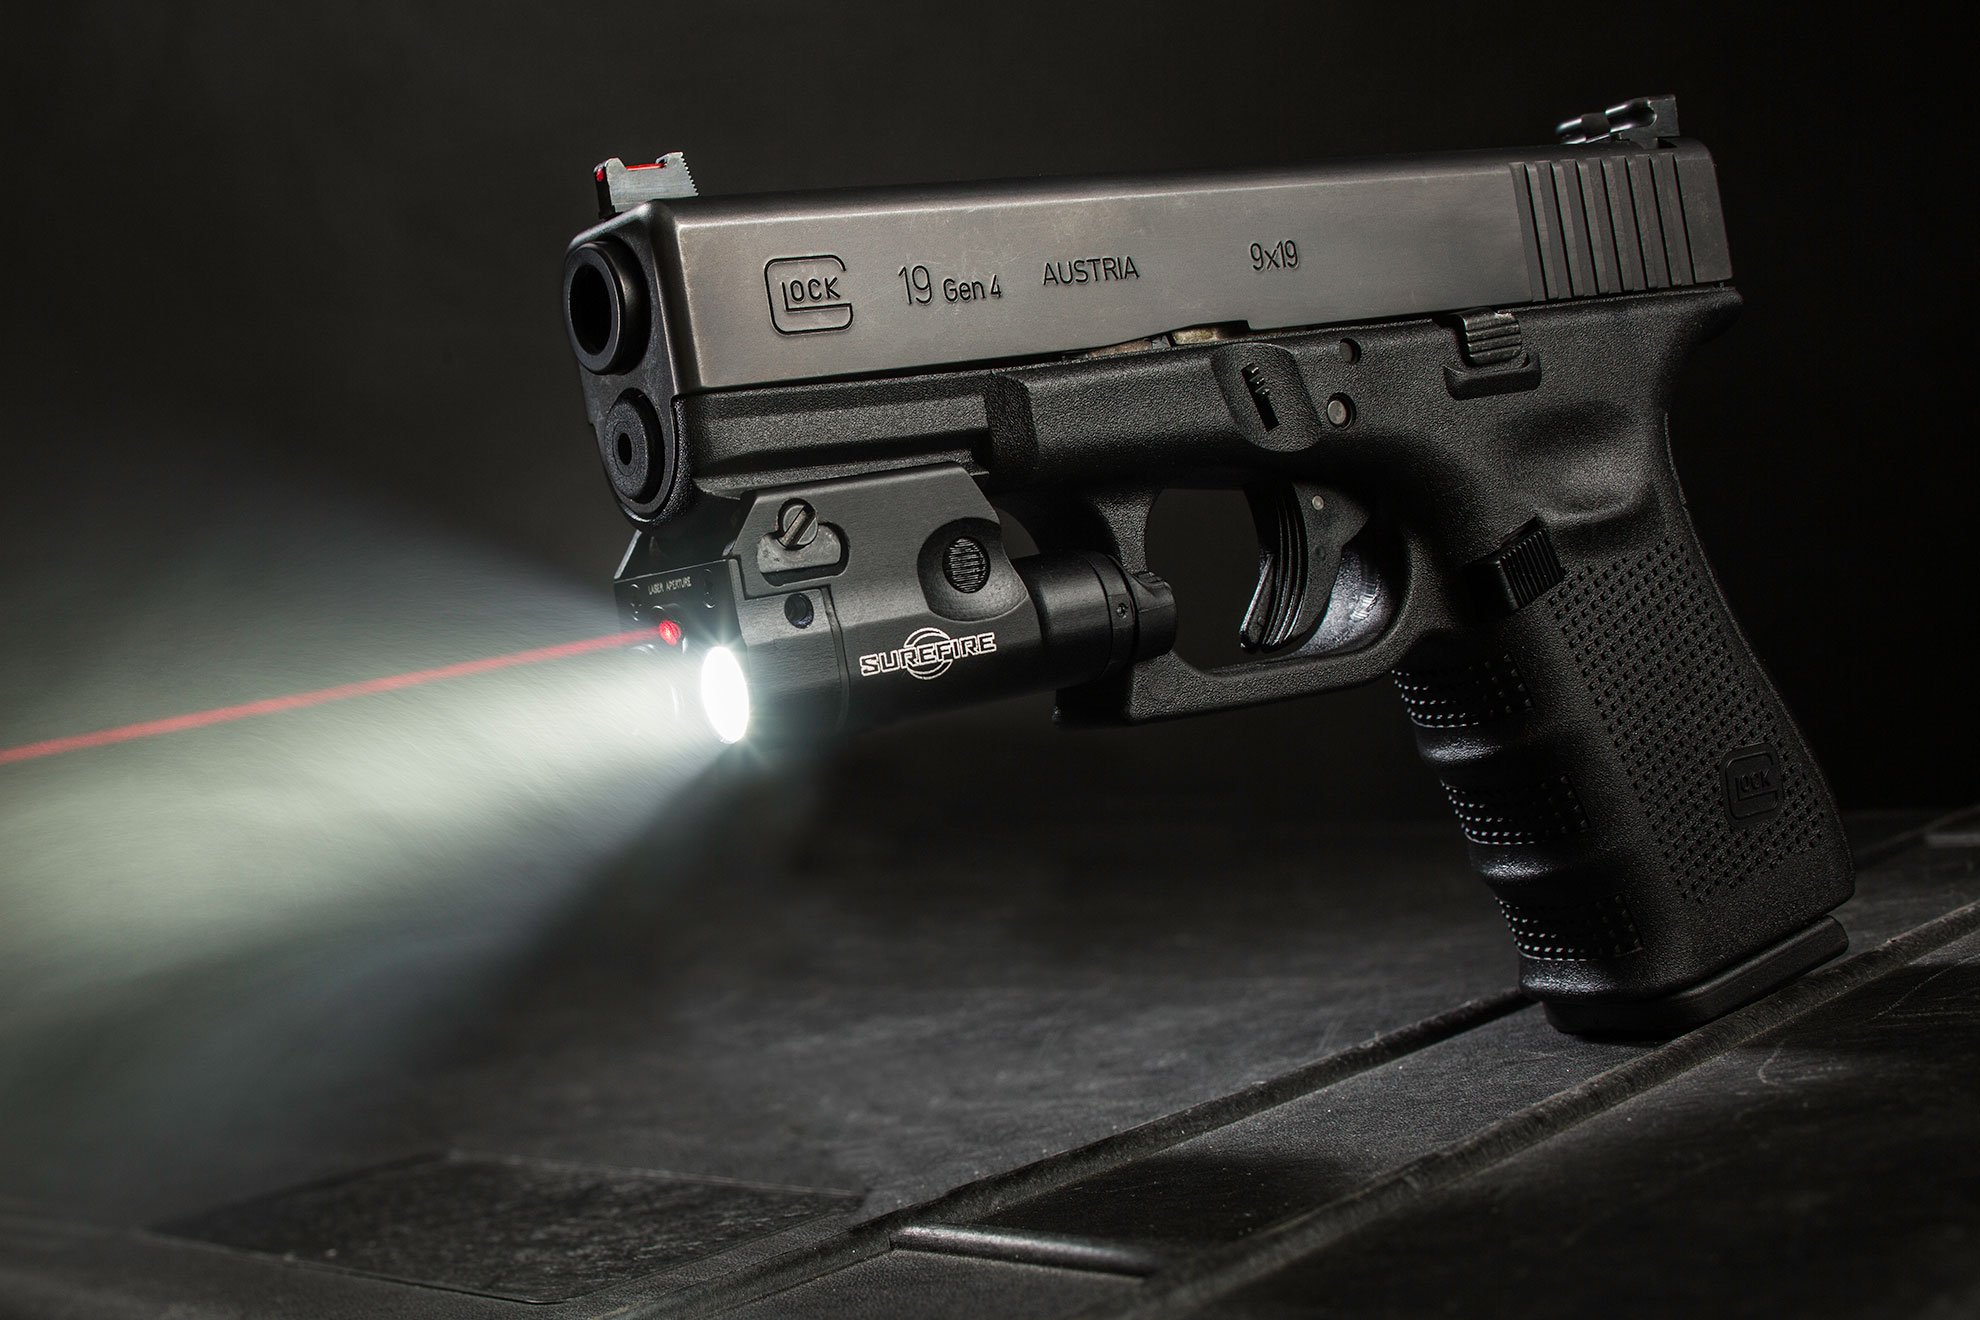
There are times when a firearm paired with a SureFire laser-equipped WeaponLight provides a tremendous advantage, especially in non-standard shooting positions.
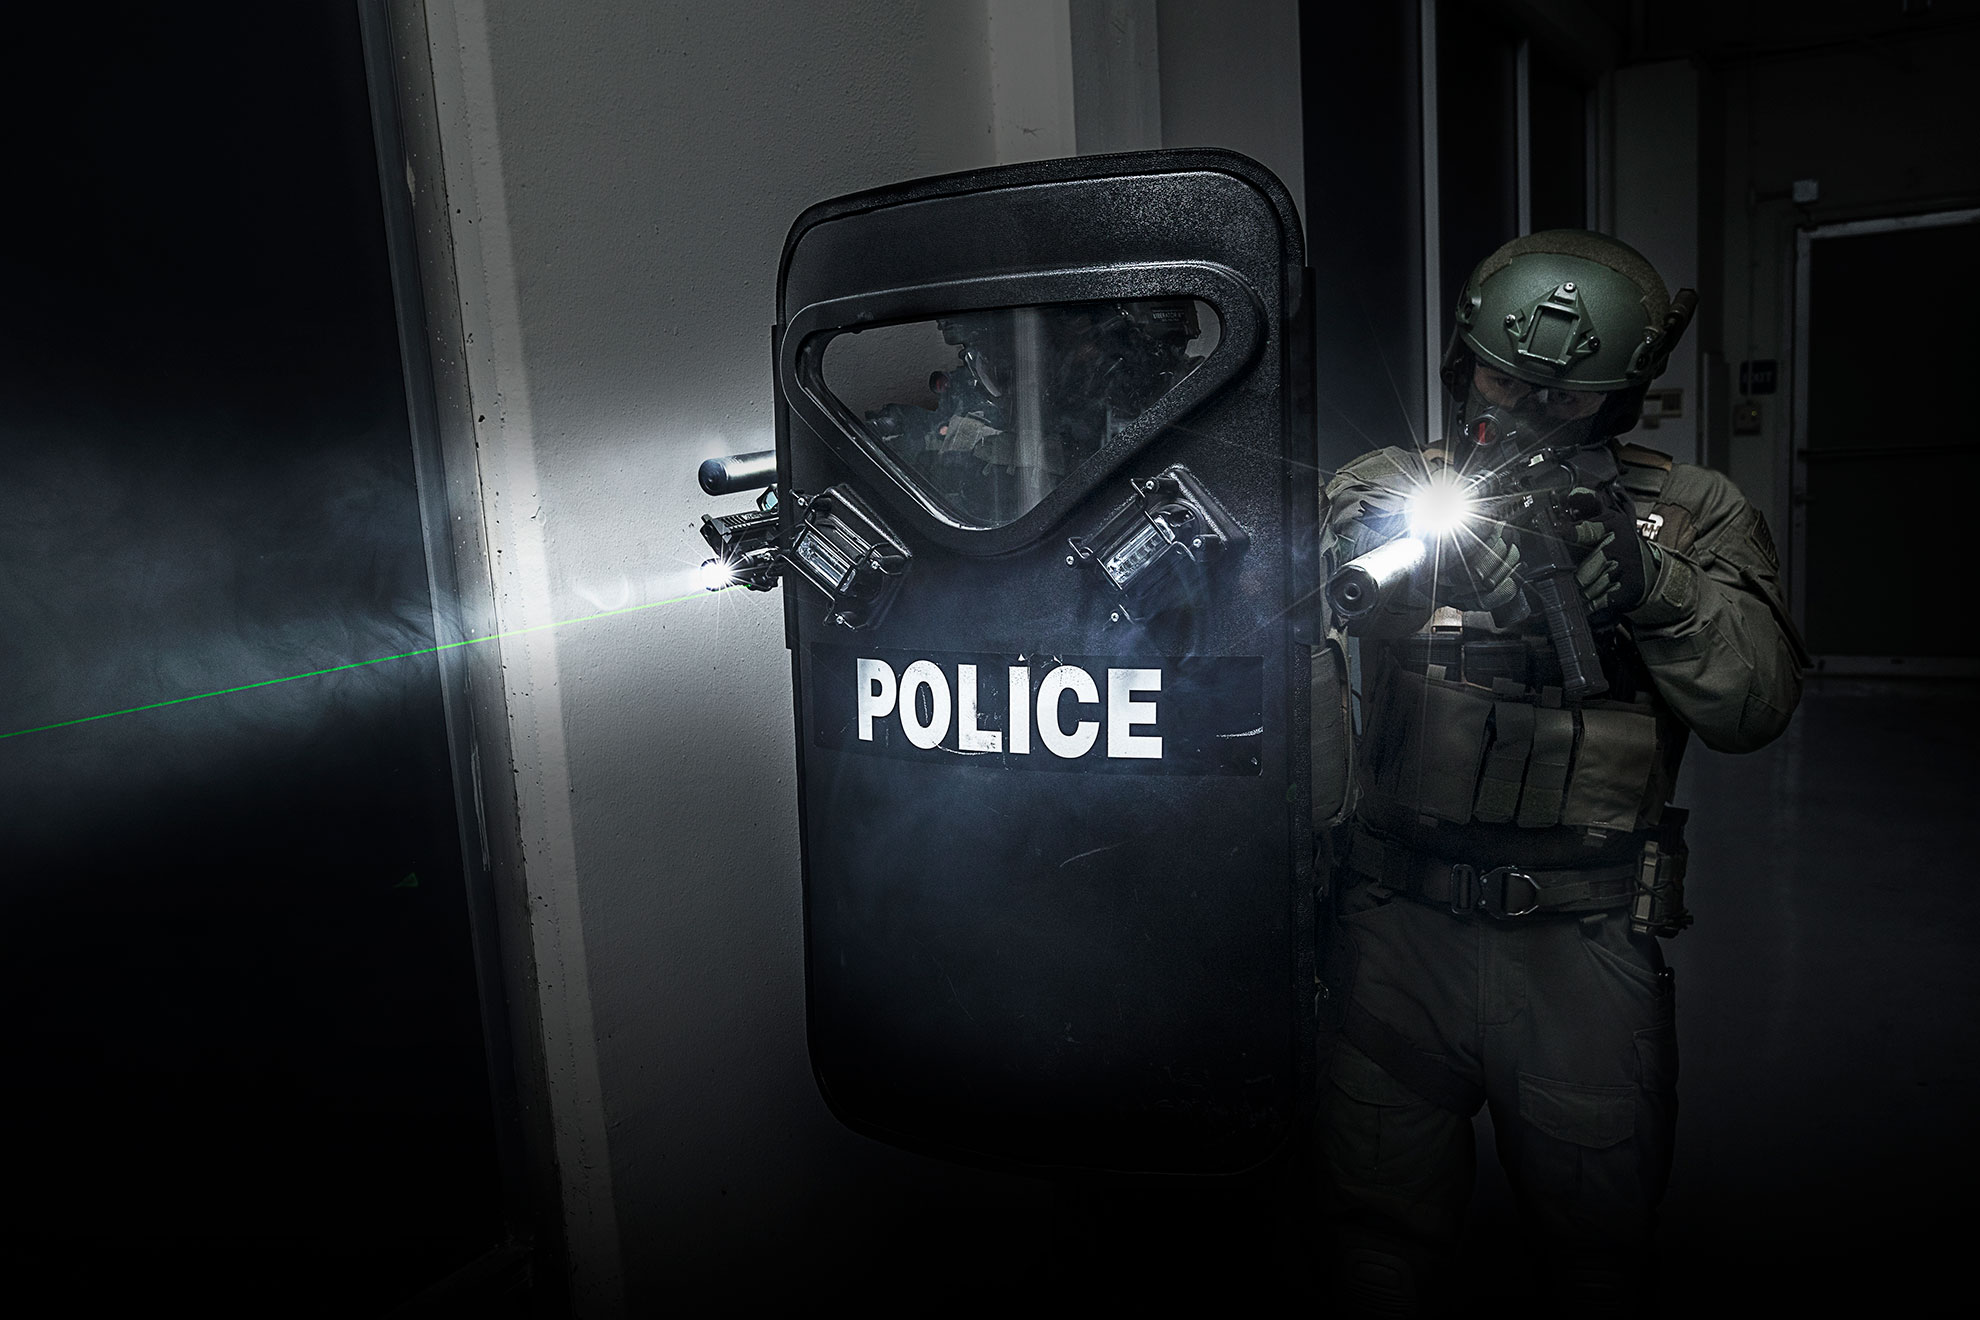
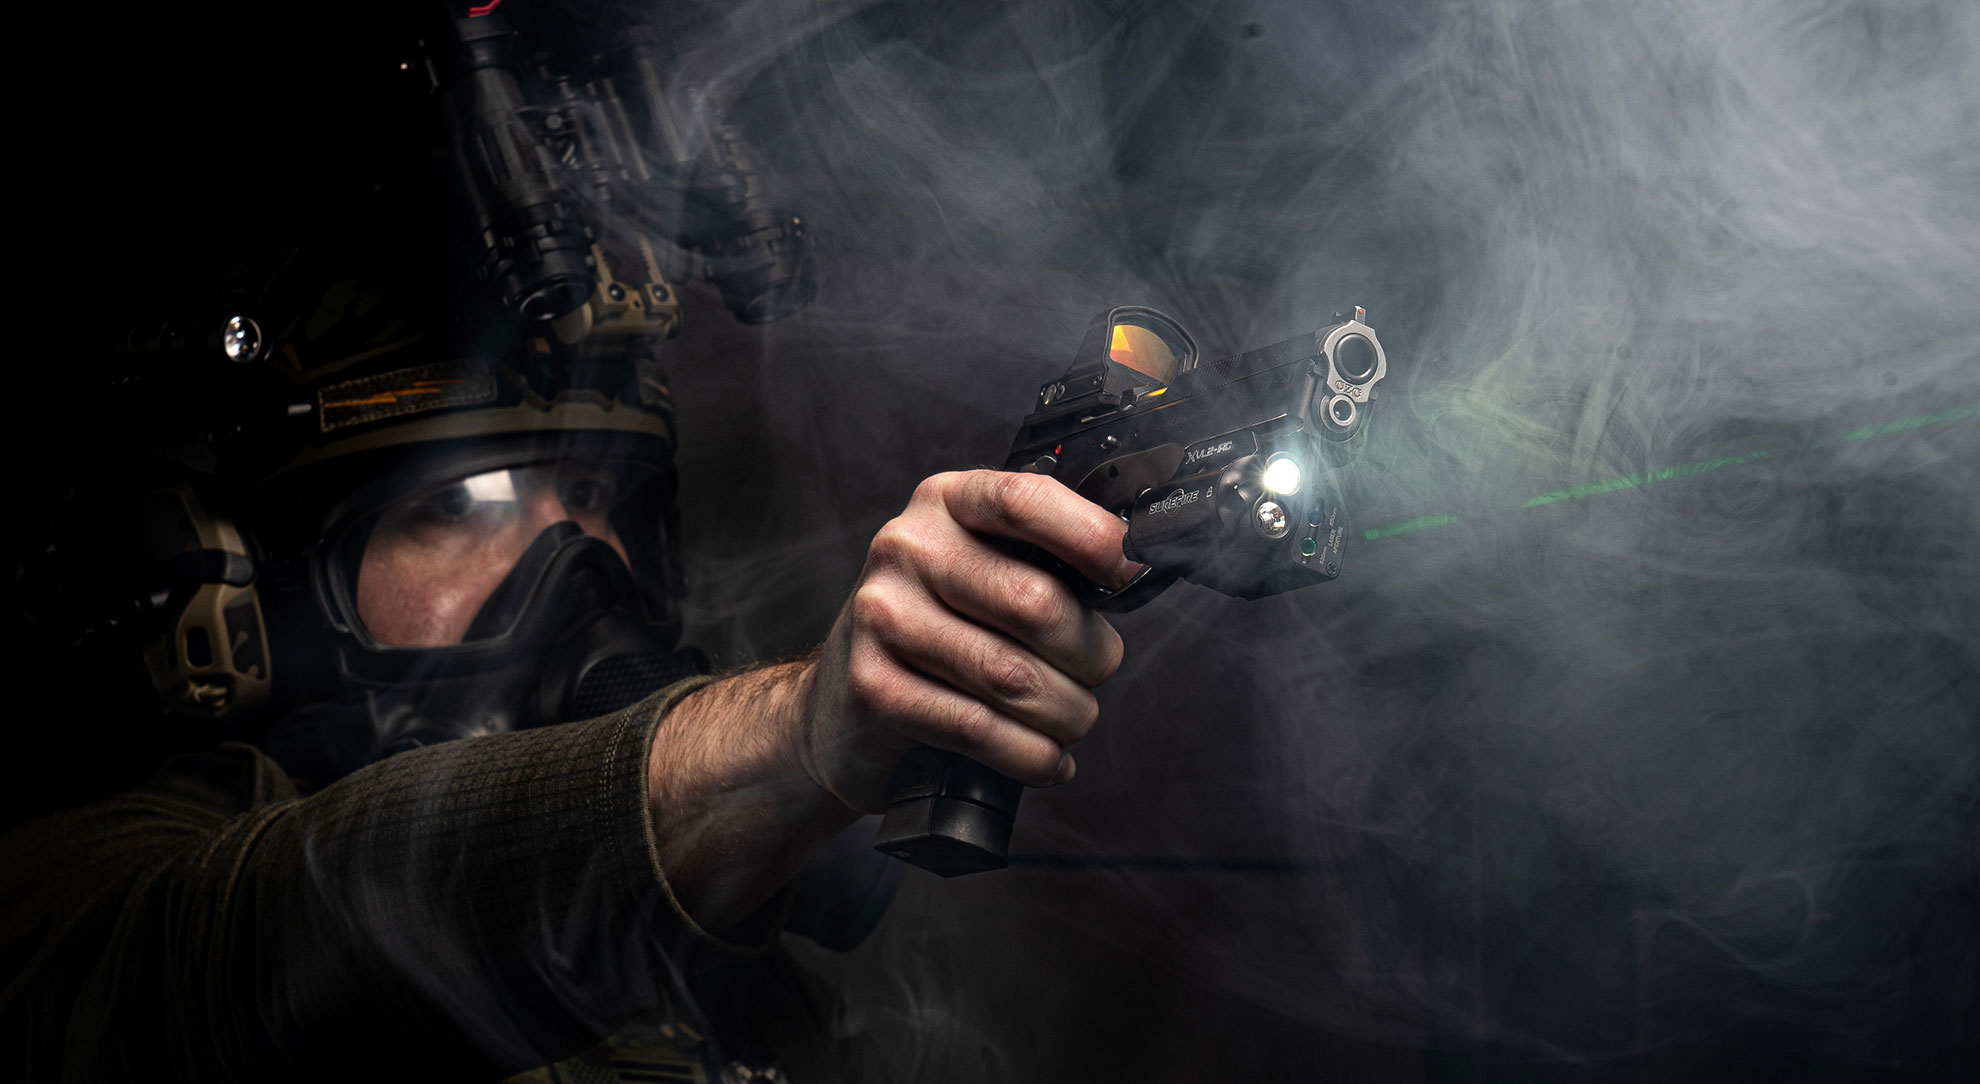
As an example, many SWAT team members utilize lasers to help them make accurate shots during ballistic shield operations, and in any other instance where they may be firing their weapon from behind cover or concealment and the laser dot is the only visual indicator they can rely on to know that the bore of their weapon is aligned with the threat. IR lasers are also useful in missions where night vision goggles (NVG) are required. And think about your own self-defense. What if a threat is so imminent that you don’t have time to complete your presentation? What if the situation dictates that you make a one-handed, fight-stopping hit as soon as your handgun clears the holster? That’s precisely why having a quality laser on your gun could save your life.
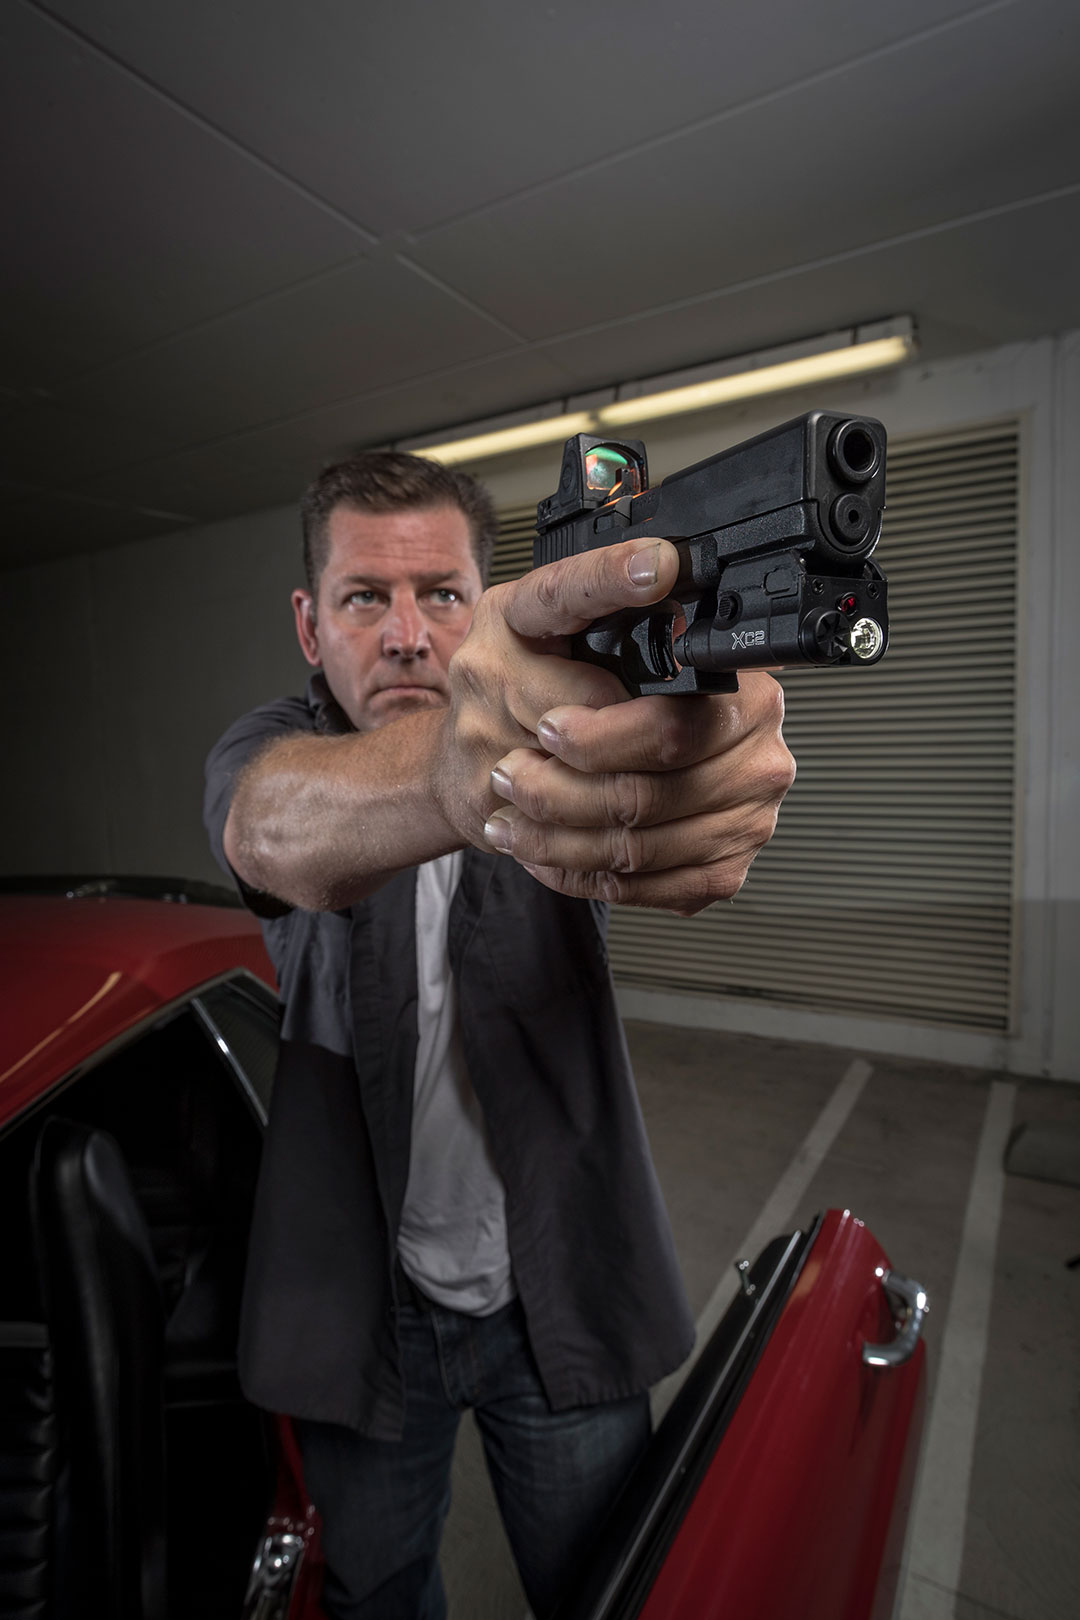
Getting the best laser for your needs is easy. SureFire has spent the last 40 years developing laser aiming devices, starting with the world’s first laser-aimed handgun, which we introduced back in 1979 (this same laser sight was used in the first Terminator movie). And we’ve continued to perfect them, from the extreme-tech, co-aligned IR/white light XVL2 to the compact and discreet XC2-A. SureFire WeaponLight/laser sights increase your odds of survival in a low-light confrontation.
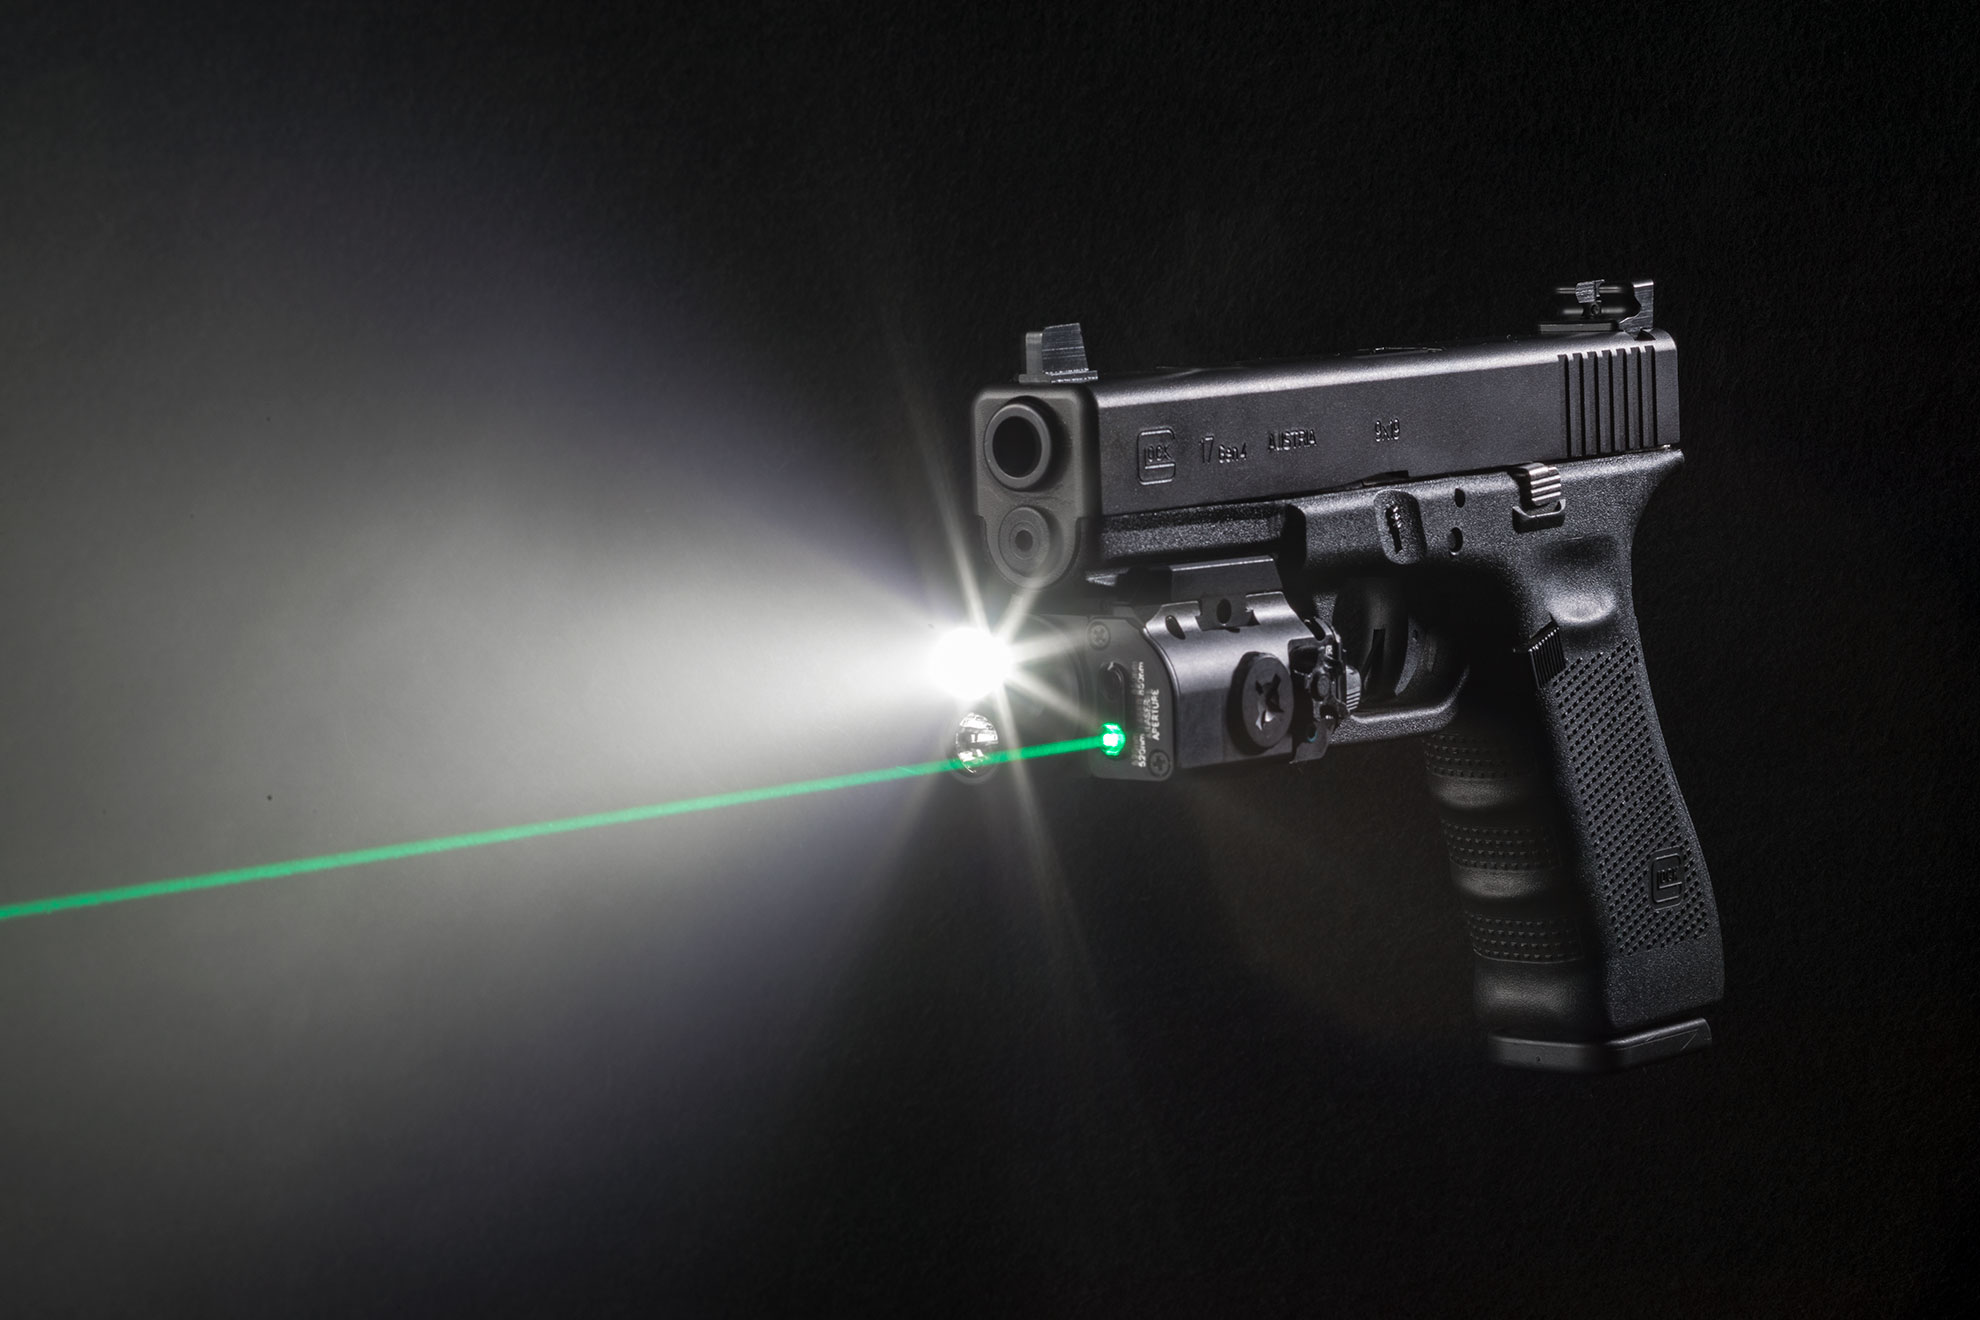
Once you have a laser on your gun, you need to zero it to ensure the highest possible degree of accuracy. It isn’t rocket science, but it does require a basic understanding of the objective, namely that the laser’s point-of-aim (POA) will show the bullet’s precise point-of-impact (POI) at the zeroed distance. SureFire WeaponLight/lasers mount on the accessory rail located beneath the bore centerline . Given this location, the object is to zero the laser by adjusting the beam path so that it intersects the bullet’s path at that set distance when you’re aiming the gun with factory iron sights.
But what should that distance be? There are various theories on zeroing. Some say 10 yards. Some say 15 yards. FBI statistics state that the average gunfight takes place within a distance of 3 yards. And keep in mind that weapon caliber, projectile weight, the distance of expected engagement, and also the wind can affect the exact impact point.
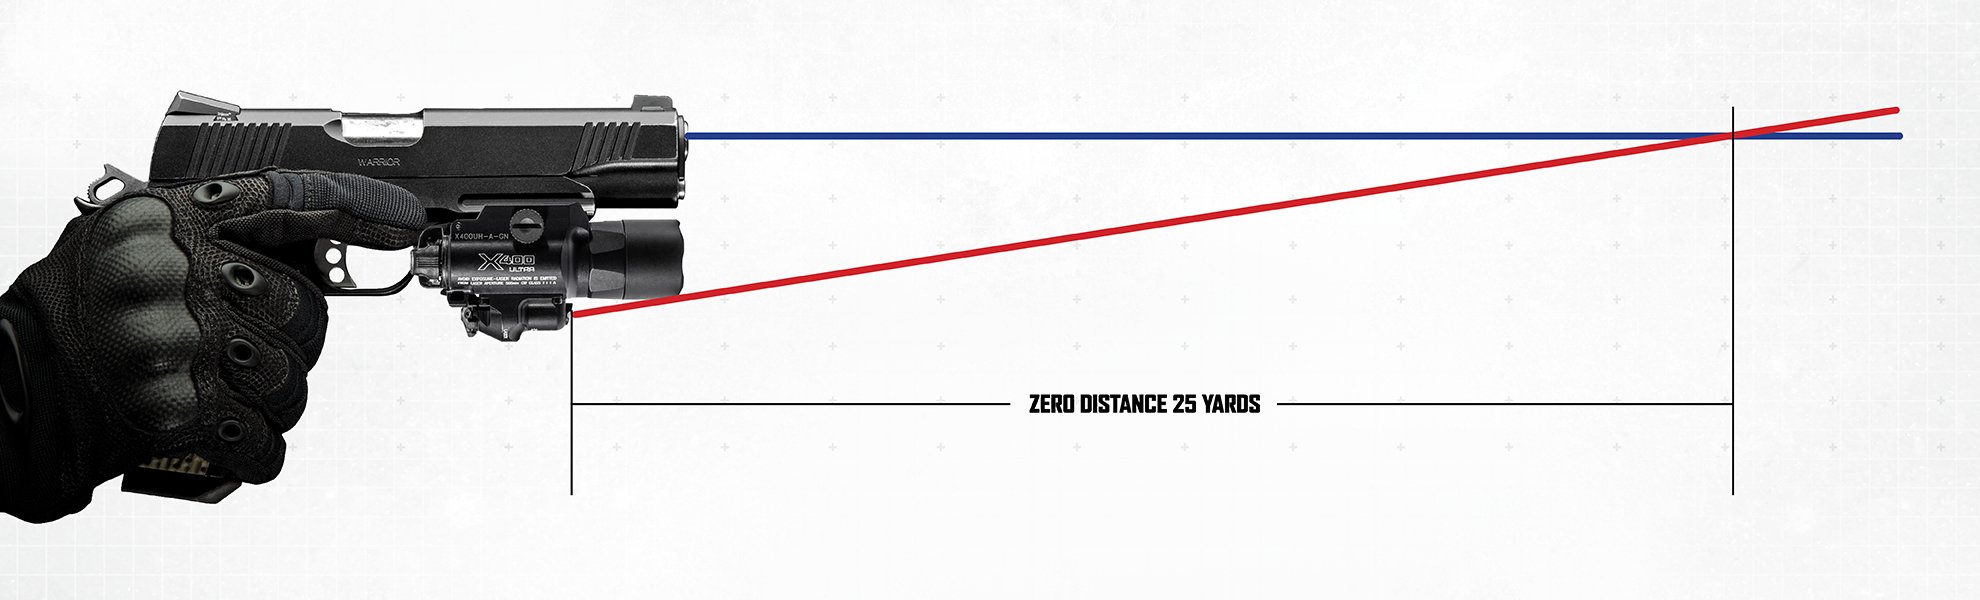
SureFire recommends zeroing its X-Series WeaponLight/lasers at a distance of 25 yards, against a target, to coincide with the POA of the host weapon’s factory sights. Why? Because the 25-yard distance provides a broad range of acceptable accuracy when the laser acquires the target. Any discrepancy in POA versus POI at target distances between 10 and 25 yards is negligible. If the shooter aims at center mass, this POI will still be within the area of the vital organs, which will likely end the fight.
Effective zeroing is simply a matter of acquiring your target with the host weapon sights at the desired range and then determining which adjustments are necessary for the laser dot position to match your weapon sight’s point of aim. SureFire WeaponLight/lasers are easy to adjust. Some models include a hex wrench to adjust the Windage and Elevation adjustment screws, and some models can be zeroed using a common tool like a flathead screwdriver, a coin or the rim of a cartridge casing. As you can read below, the zeroing guidelines are different based on the SureFire model you’ve chosen, but none are difficult to complete.
When you’ve made adjustments, use the laser to sight the target from the designated range and fire several rounds, taking care to steady your aim to minimize any shooter error. Note the POA in relation to the weapon’s POI and make any adjustments as necessary. Retest and continue to make any adjustments until the laser’s POA and weapon’s POI match. SureFire also recommends that you check your laser’s zero after the first 10-50 rounds, as it may need a few rounds to settle into position. It’s also important to note that you should always reconfirm your laser’s zero if you remove and remount it, such as when changing batteries.
Once zeroed, your SureFire WeaponLight/laser will enhance your marksmanship and provide you extra peace of mind in knowing that you’ll be able to place your shots accurately in the darkest environments. Just remember that a SureFire WeaponLight/laser is a tool, and you need to familiarize yourself with it and continue developing your shooting skills to a point where they can be executed on-demand, without conscious thought. That’s the best way to prepare to defend yourself with a handgun.
Below is a list of directions to help you zero current SureFire WeaponLight/laser models.
XC2 Models
Viewed from the shooter’s perspective, if the laser dot’s relation to the weapon’s POA viewed through the iron sights at 25 yards is…
a. left of POA, tighten the Windage screw by turning it clockwise.
b. right of POA, loosen the Windage screw by turning it counterclockwise.
c. above POA, loosen the Elevation screw by turning it counterclockwise.
d. below POA, tighten the Elevation screw by turning it clockwise.
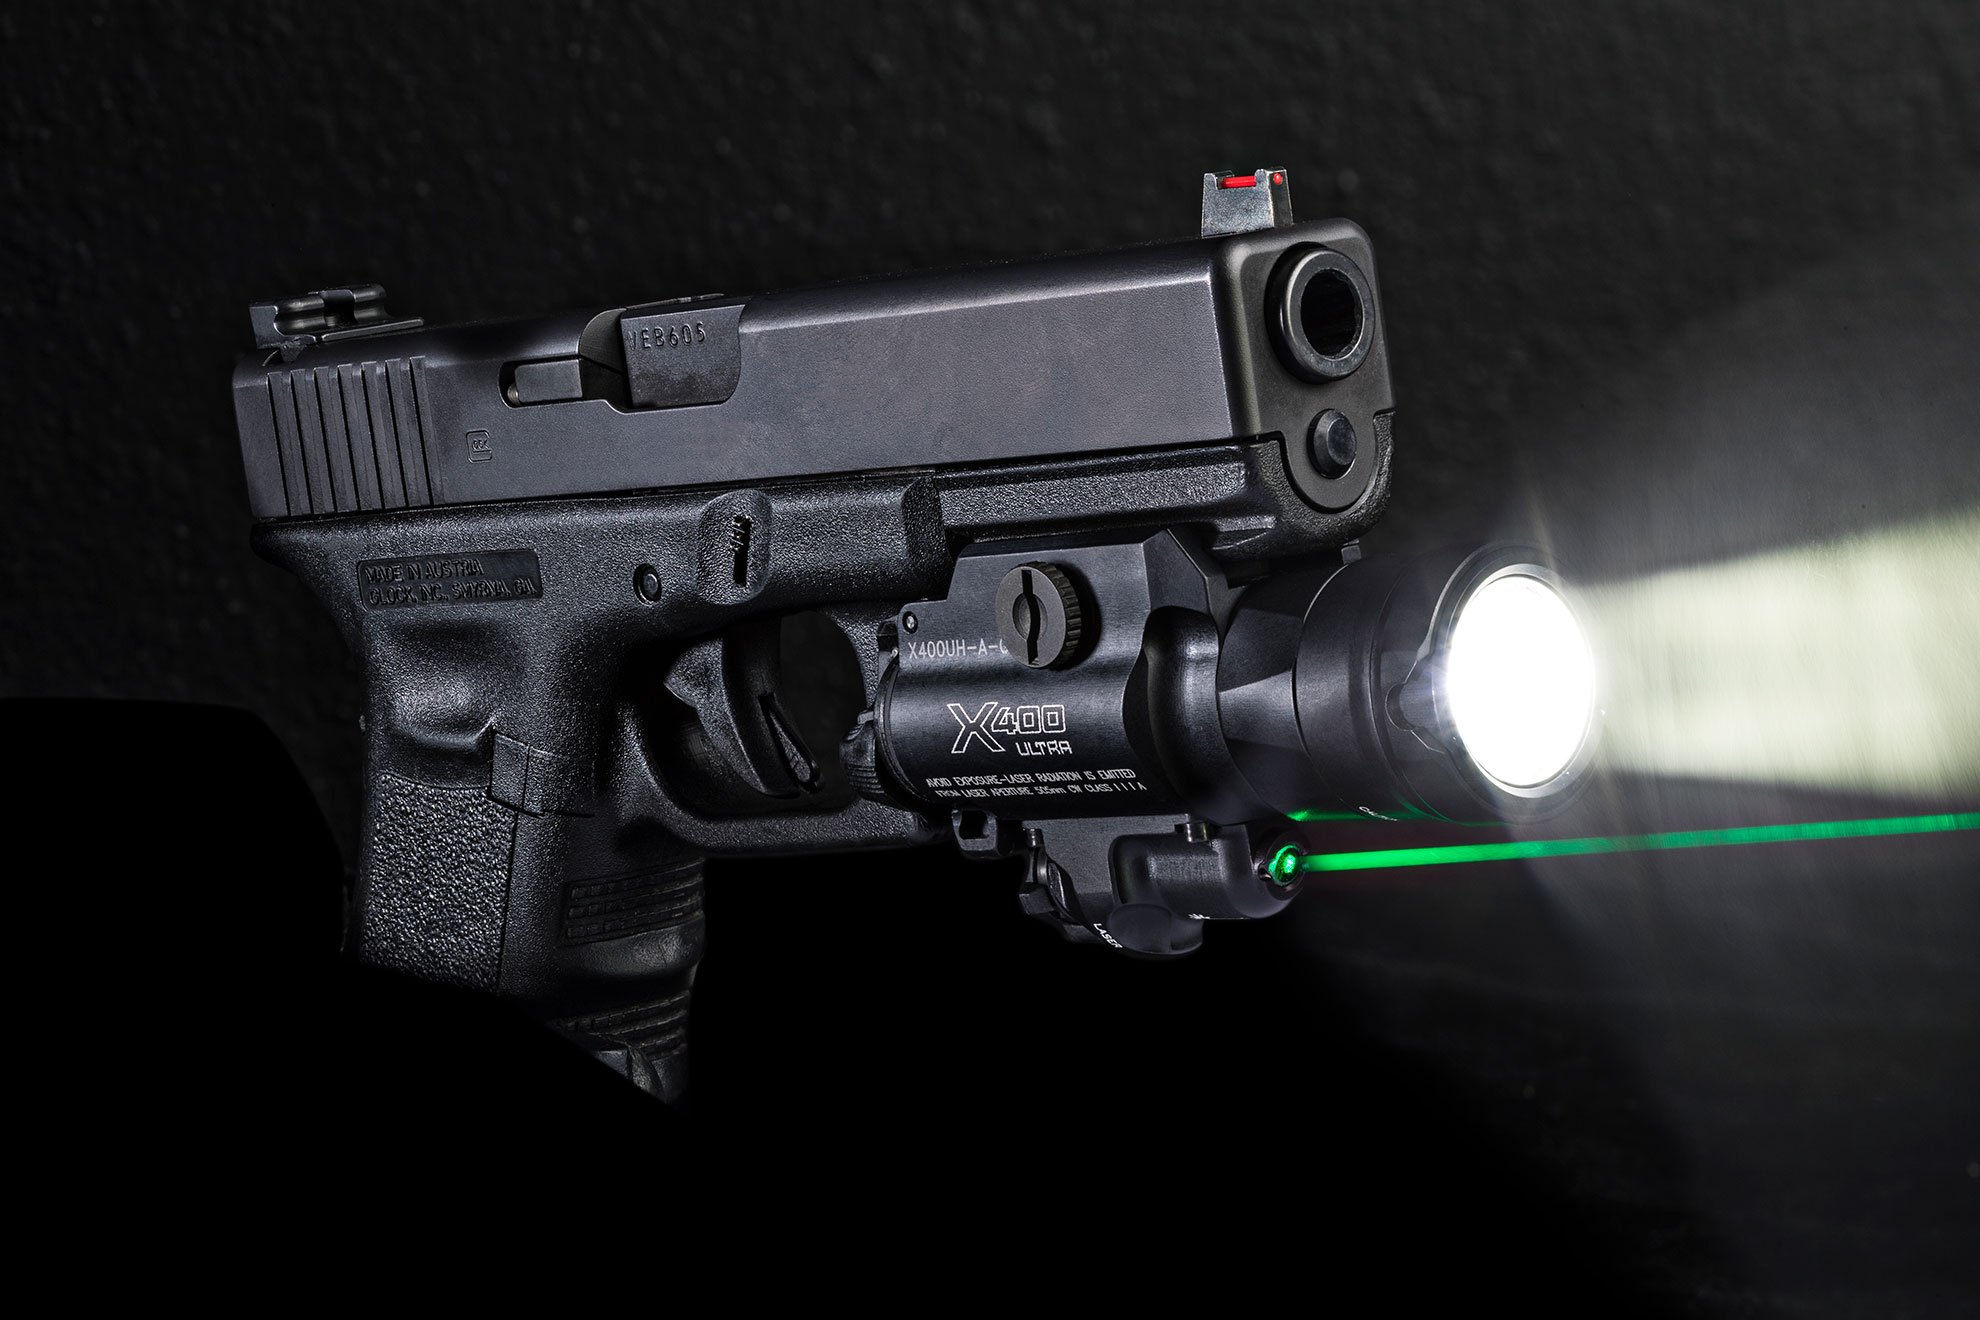
X400 Models
1. While acquiring target with host weapon sights at the desired range, determine which direction(s) the laser needs to be adjusted for red or green dot’s position to match weapon’s POA.
2. Make the necessary adjustments, using the included 5/64” Hex Wrench to tighten or loosen Windage and/or Elevation adjustment screws per instructions below, based on mounting position (from shooter’s perspective) and red or green dot’s relation to weapon’s POA.
If mounted at the 6 o’clock position and the laser dot appears…
a. left of POA, loosen the Windage screw by turning it counterclockwise.
b. right of POA, tighten the Windage screw by turning it clockwise.
c. above POA, tighten the Elevation screw by turning it clockwise.
d. below POA, loosen the Elevation screw by turning it counterclockwise.
If mounted at the 3 o’clock position (long guns only) and the laser dot appears…
a. left of POA, tighten the Elevation screw by turning it clockwise.
b. right of POA, loosen the Elevation screw by turning it counterclockwise.
c. above POA, tighten the Windage screw by turning it clockwise.
d. below POA, loosen the Windage screw by turning it counterclockwise.
If mounted at the 9 o’clock position (long guns only) and the laser dot appears…
a. left of POA, loosen the Elevation screw by turning it counterclockwise.
b. right of POA, tighten the Elevation screw by turning it clockwise.
c. above POA, loosen Windage screw by turning it counterclockwise.
d. below POA, tighten Windage screw by turning it clockwise.
3. Once adjustments have been made, use the laser to sight the target from the designated range and fire several rounds, taking care to steady your aim to minimize any shooter error. Note the X400 POA in relation to the weapon’s POI and make any necessary adjustments. Retest and continue to make any adjustments until laser’s POA and weapon’s POI match.
XVL2 Models
1. While aiming with host weapon sights at the desired range, determine which direction(s) the laser needs to be adjusted for the green dot’s position to match the weapon’s POI.
2. Make the necessary adjustments to adjust the Windage and Elevation knobs, based on the mounting position (from the shooter’s perspective) and visible or infrared laser dot’s relation to the weapon’s POI. If gross adjustments are required to zero the laser, alternate between adjustment knobs while making incremental adjustments to prevent the laser module from binding. Excessive tightening of the adjustment knobs can cause damage to the laser assembly.
If mounted at the 6 o’clock position and POI is…
a. left of POA, rotate the Windage knob clockwise.
b. right of POA, rotate the Windage knob counterclockwise.
c. above POA, rotate the Elevation knob counterclockwise.
d. below POA, rotate the Elevation knob clockwise.
If mounted at the 3 o’clock position (long guns only) and POI is…
a. left of POA, rotate the Elevation knob counterclockwise.
b. right of POA, rotate the Elevation knob clockwise.
c. above POA, rotate the Windage knob counterclockwise.
d. below POA, rotate the Windage knob clockwise.
If mounted at the 9 o’clock position (long guns only) and POI is…
a. left of POA, rotate Elevation knob clockwise.
b. right of POA, rotate Elevation knob counterclockwise.
c. above POA, rotate Windage knob clockwise.
d. below POA, rotate Windage knob counterclockwise.
For more information on SureFire WeaponLights, flashlights and tactical gear, visit SureFire.com.

SMM3G 2023 draws more than 340 competitors")
